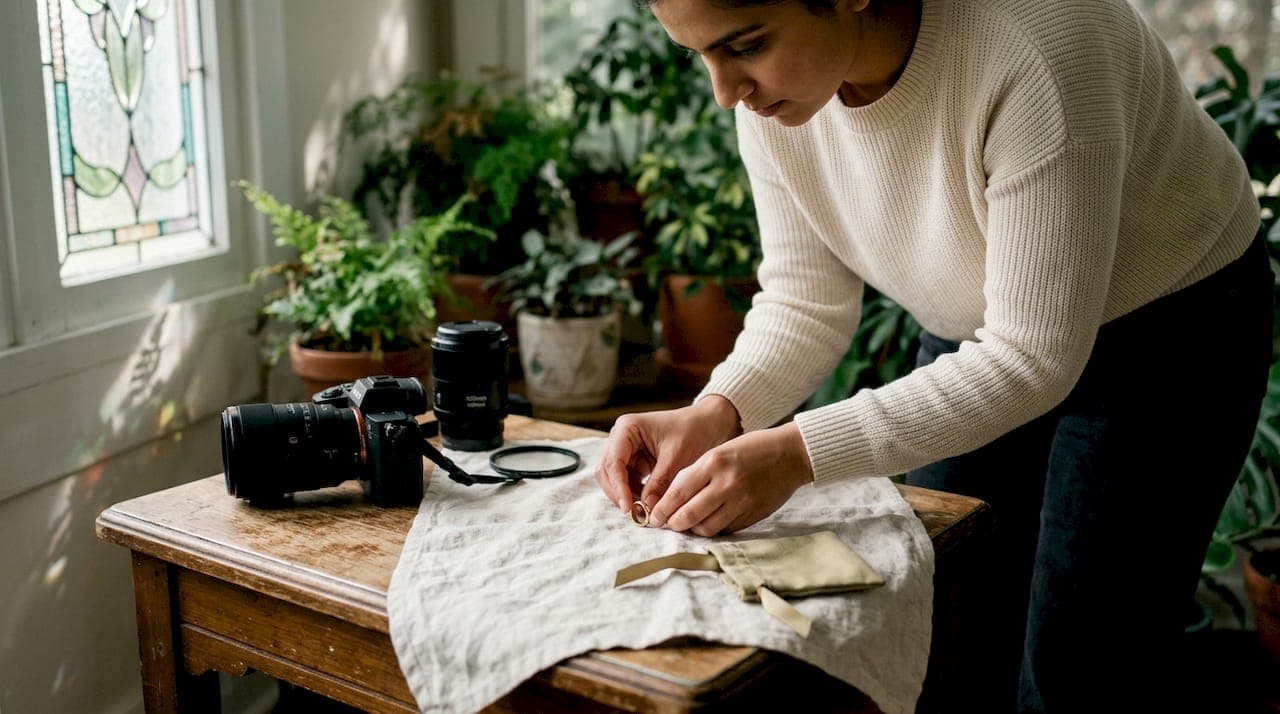
TL;DR:
- Wedding jewelry photography requires using a macro lens, natural diffused light, and thorough planning to capture intricate details. Proper styling and composition on textured backgrounds, along with careful handling of reflections and cultural sensitivities, create high-end images. Preparation and patience are key to producing consistent, emotionally meaningful wedding jewelry photos.
Wedding jewellery photography is defined as the disciplined practice of capturing rings, necklaces, earrings, and bracelets with technical precision and artistic intent to preserve their beauty and emotional significance. Knowing how to photograph wedding jewelry separates a competent wedding photographer from an exceptional one. The core technique relies on a 100mm macro lens, aperture settings between f/5.6 and f/8, and ISO values of 100–400. These three parameters together produce sharp, low-noise images that honour the intricate craftsmanship of each piece. Preparation, lighting control, and thoughtful styling complete the picture.
What equipment and camera settings are ideal for capturing wedding jewelry details?
The right equipment makes the difference between a soft, forgettable ring shot and a crisp, gallery-worthy image. A 100mm macro lens at f/5.6–f/8 gives you the working distance and depth of field needed to render fine details without distortion. Wide-angle lenses compress and distort jewellery, making them unsuitable for this work.
Recommended camera settings
- Lens: 100mm macro (or 90mm equivalent) for flattering close-up wedding ring shots
- Aperture: f/5.6–f/8 to keep the full piece in focus without excessive background blur
- ISO: 100–400 to minimise digital noise on reflective metal surfaces
- Shutter speed: 1/200s or faster when shooting handheld to prevent motion blur
Avoid apertures such as f/1.4 or f/1.8 for jewellery. Shallow depth of field at those settings produces focusing errors that viewers immediately perceive as poor quality. The stone may be sharp while the band dissolves into blur, which reads as a technical failure rather than an artistic choice.
Tripod versus handheld
Tripods deliver maximum sharpness but are often impractical during a fast-paced wedding morning. Experienced photographers reserve the tripod for complex flat lays and use handheld shooting with image stabilisation for spontaneous detail moments. That balance keeps you agile without sacrificing quality.
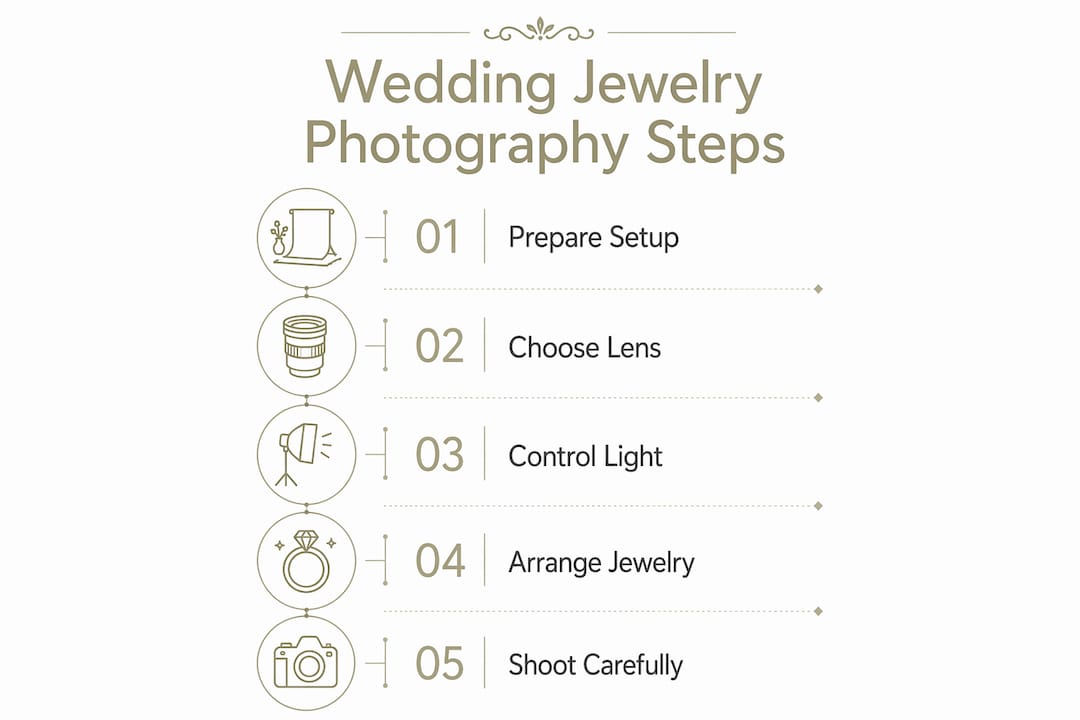
A polarising filter rotated until reflections diminish is one of the most underused tools in wedding jewellery photography. It reduces unwanted glare on gemstones and polished metal, revealing colour and clarity that would otherwise be lost. Built-in camera flash is the one piece of equipment to leave entirely unused for jewellery shots.
Pro Tip: Bring a small beanbag to the wedding. It stabilises the camera for overhead flat lay shots without the bulk of a full tripod, and it packs into any camera bag.
| Setting | Recommended value | Why it matters |
|---|---|---|
| Lens | 100mm macro | Flattering working distance, no distortion |
| Aperture | f/5.6–f/8 | Full piece in focus, controlled background |
| ISO | 100–400 | Low noise on reflective surfaces |
| Shutter speed | 1/200s or faster | Eliminates camera shake when handheld |
| Filter | Polarising | Reduces glare on metal and gemstones |
How to use lighting techniques effectively for wedding jewellery
Natural, diffused north-facing window light is the gold standard for wedding jewellery photography. It wraps around a ring or necklace without creating harsh specular highlights that obscure detail. Position your subject within one metre of the window and angle it slightly so the light skims across the surface, revealing texture and dimension.
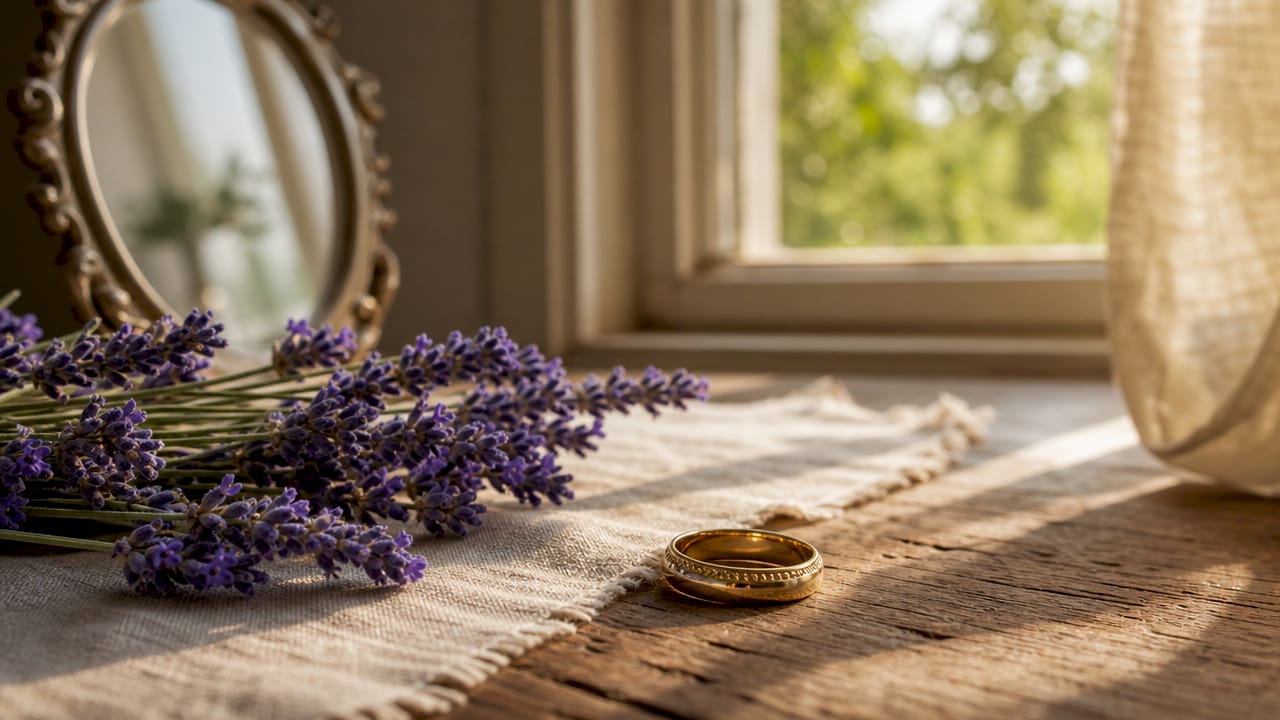
Direct on-camera flash is the single most damaging lighting choice for jewellery. It creates a flat, blown-out appearance that erases the very details you are trying to capture. Even a pop-up flash bounced off the ceiling produces uneven, unflattering results on polished metal.
Controlling reflections and shadows
- Use a white foam core board opposite the window to fill shadows gently without adding a second light source
- A black foam core board with a hole cut for the lens blocks your own reflection from appearing in the jewellery surface
- Diffuse harsh sunlight with a translucent white curtain or a portable diffuser panel
- Avoid mixing natural and artificial light sources, as the colour temperature difference creates distracting colour casts
The DIY black foam core technique is particularly effective for close-up wedding ring shots. You cut a hole just large enough for your lens, hold the board between the camera and the ring, and the dark surface prevents your face and camera from appearing as a ghostly reflection in the band. It costs almost nothing and solves one of the most persistent problems in ring photography.
Pro Tip: Shoot jewellery near a window on an overcast day rather than in direct sunlight. Clouds act as a giant natural diffuser, producing the soft, even light that makes gemstones glow without glare.
For natural light photography in general, the principle is the same: quality of light matters far more than quantity. A dimmer, softer source almost always produces a more refined result than a brighter, harsher one.
What styling and composition techniques enhance wedding jewellery photography?
Styling jewellery as a cohesive flat lay on a neutral, textured background produces a high-end, editorial aesthetic that individual shots alone cannot achieve. Grouping the engagement ring, wedding band, earrings, and bracelet together tells a visual story of the day. The background texture adds depth without competing with the jewellery itself.
Choosing the right surface is as important as choosing the right lens. Linen, silk, marble, and raw wood all work beautifully. Avoid busy patterns, bright colours, or anything that draws the eye away from the pieces themselves.
Arranging pieces for editorial impact
- Place the largest piece, typically a necklace or statement earrings, as the anchor
- Position rings at the centre or slightly off-centre for visual balance
- Arrange smaller items such as bracelets or pins around the focal pieces
- Incorporate the ring box, a ribbon, or a single floral stem to add context and warmth
- Leave negative space around the arrangement so the composition breathes
Sentimental heirlooms and culturally significant pieces deserve particular care. For Asian weddings, items such as a maang tikka or jhumka earrings carry deep meaning and should be styled with the same reverence as the rings. Confirm cultural or religious considerations with your clients before arranging any piece in an unconventional position. What reads as a creative composition to you may carry unintended significance to the couple.
Pro Tip: Ask your clients to send a photograph of their jewellery collection two to three weeks before the wedding. You can plan your styling approach in advance and arrive on the day with a clear creative vision rather than improvising under time pressure.
For further inspiration on arrangement and visual storytelling, the principles behind editorial wedding portraits apply directly to jewellery flat lays.
When and how to plan wedding jewellery photography on the day
Shooting jewellery 30–60 minutes before bridal portraits creates a relaxed environment for detailed, unhurried work. Rushing jewellery shots because the schedule has slipped is one of the most common causes of disappointing detail images. Arriving early and shooting jewellery first protects that time.
Sending a pre-wedding details checklist 4–6 weeks in advance is the single most effective preparation step. Ask the couple to gather all jewellery, accessories, and sentimental items into one box before you arrive. This prevents the frantic search for a missing earring that can consume 20 minutes of precious shooting time.
A practical on-the-day workflow
- Arrive at the venue and immediately identify the best natural light source
- Set up your shooting surface near the window before the couple is ready
- Collect the details box from the couple or their coordinator
- Shoot rings and smaller pieces first, then build the full flat lay
- Photograph individual pieces worn on the hand or wrist for variety
- Return all items carefully and confirm nothing is missing before moving on
- Handle all pieces with clean hands or cotton gloves to avoid fingerprints on polished surfaces
- Keep a microfibre cloth nearby to polish rings between shots
- Communicate with the couple about any pieces with cultural or religious significance before styling
The wedding photography workflow for Asian ceremonies is particularly instructive here. Cultural ceremonies often involve a greater volume of jewellery, including layered necklaces, bangles, and ornate hair pieces, each requiring individual attention within a compressed schedule.
Pro Tip: Photograph the jewellery before the bride puts it on. Once worn, pieces are harder to reposition, and you lose the opportunity for clean, undistracted flat lay compositions.
What are common challenges and mistakes to avoid?
The most damaging mistake in wedding jewellery photography is using too shallow a depth of field. Shooting at f/1.8 on a ring produces an image where only a sliver is sharp. Clients notice this immediately, and it reads as carelessness rather than artistry.
"The technical errors that clients remember longest are the ones on the smallest items. A blurred ring or a reflection-ruined stone stands out precisely because the subject is so intimate."
- Reflections on metal: Use the black foam core board technique and a polarising filter together for the most problematic surfaces
- Colour casts: Never mix tungsten room lighting with natural window light in the same shot; switch off overhead lights if possible
- Rushed styling: A disorganised details box costs more time than any other single factor; the checklist system eliminates this entirely
- Cultural missteps: Placing a ring on a shoe heel or arranging a sacred piece in an irreverent position can cause genuine offence; always ask first
- Fingerprints and smudges: Polish every piece immediately before shooting; smudges are visible at macro distances even when invisible to the naked eye
Common amateur mistakes in wedding photography often originate in the detail shots. Jewellery photography rewards patience and methodical preparation far more than speed or spontaneous creativity.
Pro Tip: If reflections persist despite your best efforts, try shooting at a slightly different angle rather than moving the light. A five-degree shift in camera position often eliminates a stubborn highlight entirely.
Key takeaways
Mastering wedding jewellery photography requires a 100mm macro lens, controlled natural light, and thorough pre-wedding preparation to produce sharp, meaningful images consistently.
| Point | Details |
|---|---|
| Use the right lens and aperture | A 100mm macro lens at f/5.6–f/8 delivers sharpness across the full piece with low noise. |
| Prioritise natural diffused light | North-facing window light prevents glare and preserves sparkle better than any artificial source. |
| Prepare a details checklist | Send a jewellery checklist 4–6 weeks before the wedding to avoid wasted time on the day. |
| Style as a cohesive flat lay | Grouping pieces on a neutral textured surface creates an editorial, high-end result. |
| Confirm cultural sensitivities | Always ask clients about religious or cultural significance before arranging any piece. |
What I have learned from years of photographing wedding jewellery
Wedding jewellery photography taught me that preparation is the craft. You can own the finest macro lens available, but if you arrive without a plan, the images will show it. The couples I work with at Rashpal-photography bring extraordinary pieces to their weddings, from intricately set diamond solitaires to heirloom Kundan sets worn across generations. Each one deserves more than a quick snapshot.
The technical side is learnable in an afternoon. What takes years to develop is the sensitivity to understand what a piece means to the person wearing it. A simple gold band from a grandmother carries more emotional weight than a flawless diamond, and the photograph should reflect that. I always ask couples to tell me the story behind their jewellery before I shoot it. That conversation changes how I compose the image.
I have also found that the photographers who struggle most with jewellery shots are those who treat them as an afterthought. They rush through the flat lay to get to the portraits. The reality is that a beautifully lit ring shot, placed alongside a candid moment from the ceremony, creates a narrative arc that neither image achieves alone. Slow down, set up properly, and the results will consistently exceed your clients' expectations.
— Rashpal
Wedding photography that honours every detail
At Rashpal-photography, capturing the intricate beauty of wedding jewellery is woven into every package we offer. From the delicate filigree of a bridal necklace to the quiet elegance of a wedding band, these details form part of the visual legacy of your day.
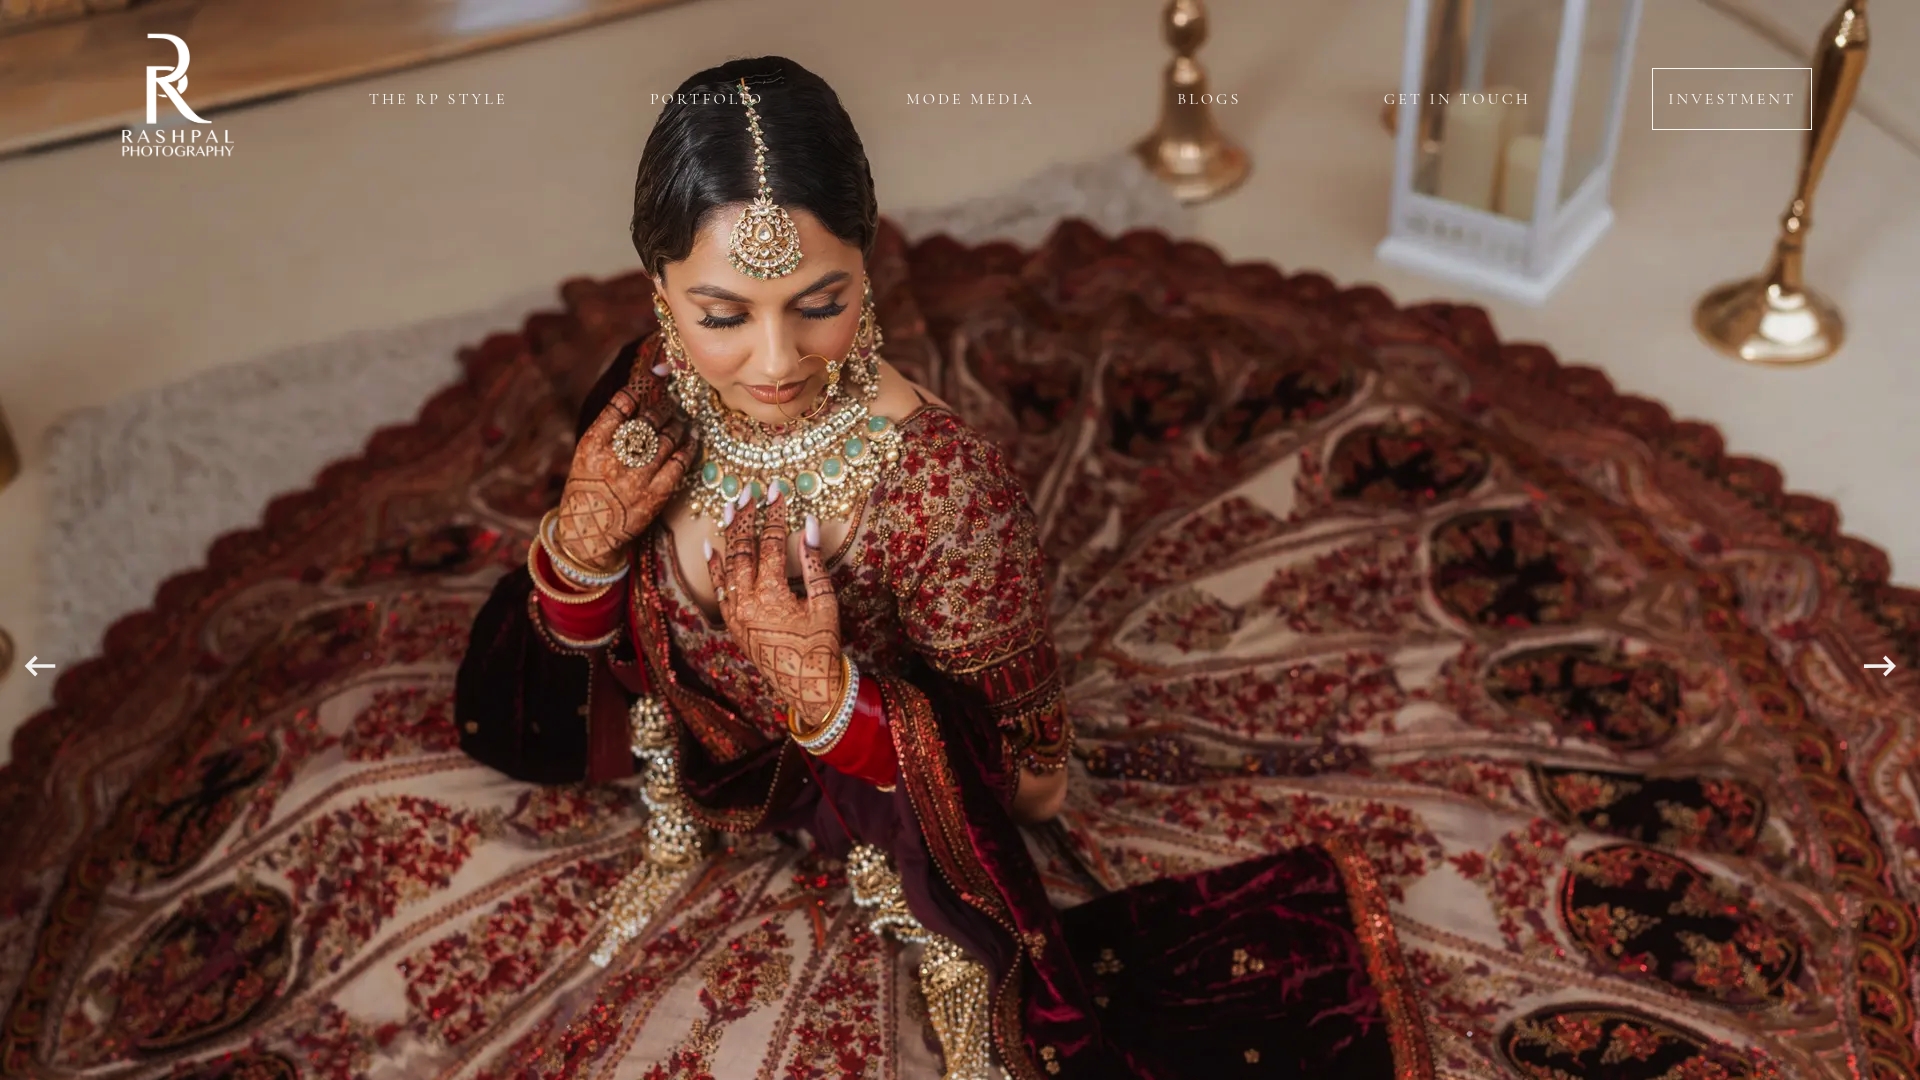
Whether you are planning an intimate ceremony or a grand cultural celebration, our wedding photography packages are designed to give every detail the time and artistry it deserves. If you would like to discuss how we approach jewellery and accessory coverage as part of your day, we would love to hear from you. Explore our classic full-day coverage to see how we integrate detail photography into a complete, timeless wedding story.
FAQ
What lens is best for wedding ring photography?
A 100mm macro lens at f/5.6–f/8 is the recommended choice for wedding ring photography. This combination delivers sharpness across the full ring with minimal distortion and sufficient working distance.
How do I avoid reflections in jewellery photos?
Use a polarising filter and a black foam core board with a hole cut for the lens to block your own reflection. Shooting near diffused natural light rather than direct flash also reduces glare significantly.
When should I photograph wedding jewellery during the day?
Photograph jewellery 30–60 minutes before bridal portraits begin. This timing creates a calm, unhurried environment and protects the detail shots from being rushed later in the schedule.
How do I photograph bridal accessories as a flat lay?
Arrange pieces on a neutral, textured surface such as linen or marble, placing the largest item as the anchor and building outward. Incorporate the ring box or a floral stem to add context and warmth to the composition.
Why does cultural sensitivity matter for jewellery photography?
Certain jewellery placements carry religious or cultural significance that an unconventional styling choice could inadvertently disrespect. Always confirm preferences with your clients before arranging pieces in unfamiliar ways.