TL;DR:
- Natural light photography relies solely on available sources like sunlight, moonlight, or window light, without artificial illumination. Mastering the qualities of light direction, quality, and timing enhances image emotional depth, especially during golden hours or open shade. This approach emphasizes responsiveness and environment observation, creating authentic, compelling portraits, landscapes, and documentary images.
Natural light photography is defined as the practice of capturing images using only available light sources, primarily sunlight, window light, or moonlight, without flash or artificial studio lighting. This approach shapes every creative decision, from when you shoot to where you position your subject. The key variables are light direction, quality, and intensity, and understanding how each one shifts throughout the day separates competent photographers from truly compelling ones. Whether you are working outdoors at golden hour or beside a north-facing window indoors, natural light offers an organic, luminous quality that no artificial source fully replicates.
What is natural light photography and why does it matter?
Natural light photography relies on available outdoor light, primarily sunlight and sometimes moonlight, rather than flash or artificial sources. The photographer's role is to read the environment and position the scene to work with that light, not manufacture it. Common natural sources include direct sunlight, open shade, diffused ambient light, and window light indoors.
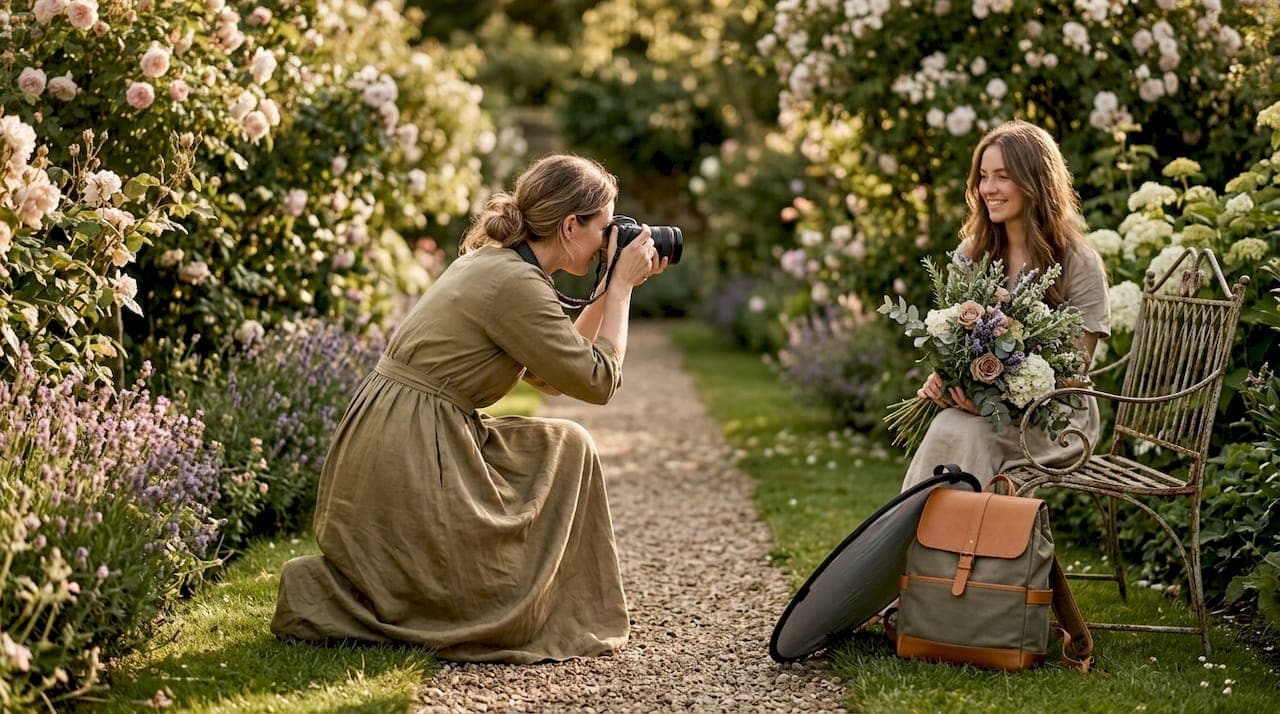
What makes this approach so compelling is its accessibility. You need no studio, no power packs, and no complex modifier rigs. A camera, a reflector, and an understanding of the sun's behaviour are sufficient to produce breathtaking portraits, landscapes, and documentary images. This simplicity is also why natural light photography forms the foundation of most photographic education, from Ansel Adams's landscape work to the intimate window-lit portraits of Vermeer.
The practice demands genuine observation. Light changes every few minutes outdoors, and the same location can feel entirely different at 7am compared to noon. That responsiveness, that ability to read and adapt, is the core skill this style of photography builds.
How do light direction, quality, and intensity shape your images?
Light direction, quality, and intensity are the three variables that define every natural light photograph, and each one behaves differently depending on the time of day, season, and weather.
Direction describes where the light originates relative to your subject. Front lighting, where the sun falls behind the photographer, produces even, shadow-free illumination but can feel flat. Side lighting sculpts the subject with shadow, revealing texture and dimension. Backlighting, where the sun sits behind the subject, creates luminous rim light and the possibility of silhouettes or a glowing, cinematic quality.
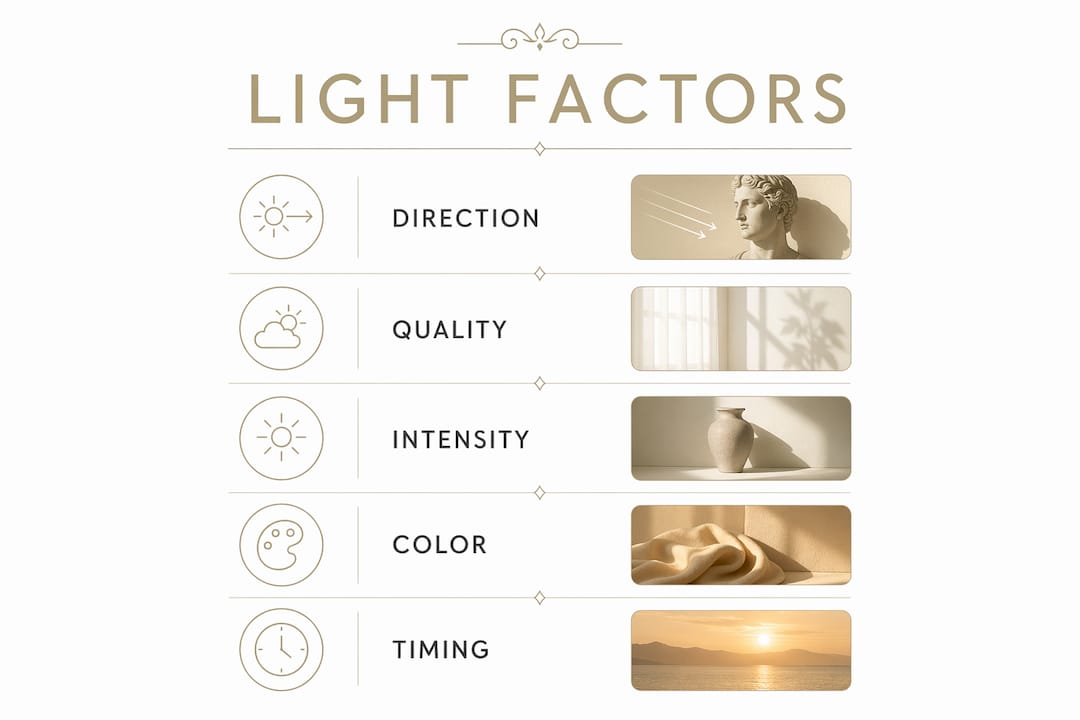
Quality refers to whether the light is hard or soft. Hard light comes from small or distant sources such as direct midday sun, producing sharp, high-contrast shadows. Soft light originates from large or close sources, such as an overcast sky or a large window, spreading illumination gently across the subject. Clouds diffuse sunlight across a wide area, creating gentle shadows and flattering illumination, which is why overcast days are prized for portrait work.
Intensity shifts dramatically across the day. Midday sun is harsh and overhead, creating unflattering shadows beneath eyes and chins. Morning and late afternoon light is lower in the sky, warmer in colour temperature, and far more forgiving on skin tones.
| Light condition | Quality | Colour temperature | Best use |
|---|---|---|---|
| Golden hour | Soft, warm | 2,000–3,500K | Portraits, landscapes |
| Overcast sky | Soft, diffused | 6,000–7,000K | Portraits, fashion |
| Midday sun | Hard, harsh | 5,500–6,000K | Architecture, abstract |
| Open shade | Soft, cool | 7,000–8,000K | Portraits, lifestyle |
| Window light | Directional, soft | 5,500–6,500K | Indoor portraits, still life |
Pro Tip: When shooting on location, arrive 20 minutes before your planned start time and observe how the light falls across the scene. Note where shadows land, where the sky opens up, and which direction offers the softest illumination. This reconnaissance transforms reactive shooting into deliberate artistry.
Natural light vs artificial light: which should you choose?
Artificial light in photography typically refers to flash units, continuous LED panels, and studio strobes such as those made by Profoto or Godox. These tools offer complete control over intensity, direction, and colour temperature regardless of time or weather. Natural light, by contrast, is uncontrollable but often irreplaceable in its organic warmth and authenticity.
The practical differences are significant. Artificial lighting requires equipment, setup time, and technical knowledge of modifiers, power ratios, and sync speeds. Natural light requires none of that. You can arrive at a location with a single camera body and produce polished, professional results. This is one of the core benefits of natural light photography for photographers working in documentary, wedding, and lifestyle genres.
Aesthetically, the two approaches produce distinct results. Artificial light is repeatable and consistent, which suits commercial product photography and studio portraiture where exact replication matters. Natural light produces images with a living, breathing quality, where the light itself tells part of the story. The soft glow of late afternoon sun through a sheer curtain carries an emotional resonance that a softbox rarely matches.
The limitations of natural light are real. You cannot control clouds, you cannot extend golden hour, and you cannot shoot in a windowless room without supplementary light. Understanding these constraints helps you plan intelligently rather than fight conditions you cannot change.
- Natural light: No equipment cost, organic aesthetic, mood-driven, time and weather dependent
- Artificial light: Full control, consistent results, repeatable, requires investment in gear and technical skill
- Hybrid approach: Many professional photographers combine both, using a reflector or a single off-camera flash to complement natural light without overpowering it
Practical natural light photography techniques that actually work
Mastering natural light is a matter of timing, positioning, and knowing how to modify what you cannot control. These techniques apply whether you are photographing a portrait in a park or a bride beside a cathedral window.
-
Shoot during golden hour. Golden hour, approximately 30 to 60 minutes after sunrise or before sunset, provides soft, warm, flattering light. Use a fast lens and keep your ISO between 100 and 400 to preserve highlight detail. Shoot in RAW to retain the full dynamic range as the light shifts rapidly.
-
Use open shade for portraits. Placing subjects in open shade, shaded from direct sun but open to the sky above, creates a large natural softbox effect. The subject must face towards the open sky, not deeper shade, to avoid flat or muddy lighting. This technique works beautifully at midday when direct sun is otherwise unusable.
-
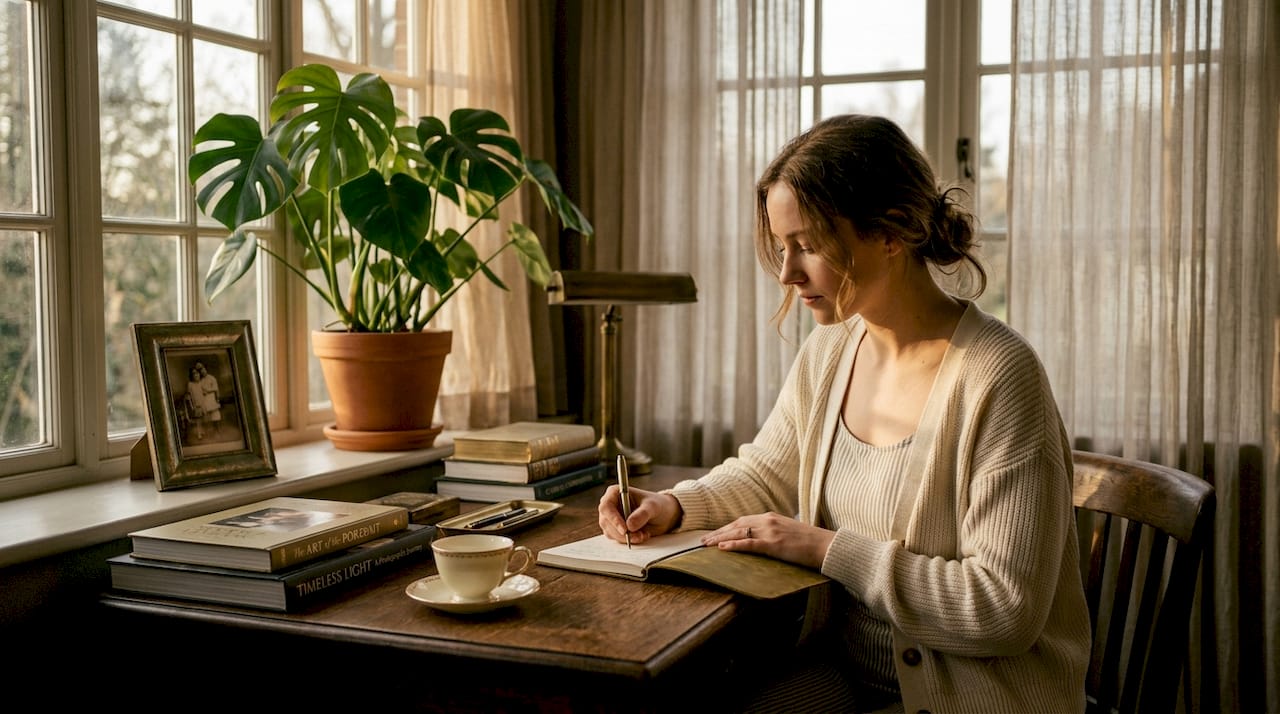
Work with window light indoors. Positioning subjects at roughly 45 degrees to a window creates soft directional shadows that sculpt the face elegantly. Moving the subject closer to the glass softens the light further; moving them away increases contrast and shadow depth.
-
Expose for your subject, not the background. Natural light scenes carry high dynamic range, with bright skies and shaded subjects often in the same frame. Expose for the subject's face and allow the background to fall one to two stops darker. This creates a dreamy, painterly quality while keeping the subject's skin tones accurate.
-
Use reflectors to fill shadows. White reflectors provide neutral, soft fill light. Silver reflectors produce a brighter, more contrasty result. Reflector colour fundamentally alters the character of bounced light, and choosing the wrong material can produce unbalanced or unflattering results. Gold reflectors add warmth, which suits skin tones beautifully during golden hour but can appear artificial in cooler midday light.
Pro Tip: Treat the dominant light source as a room with one window. Position your subject so that light falls consistently from one direction. Mixed light sources, such as a window on one side and a bright doorway on the other, create competing shadows that are difficult to resolve in post-processing.
Common challenges in natural light photography and how to overcome them
Natural light is generous but unpredictable. These are the challenges photographers encounter most frequently, paired with the solutions that actually resolve them.
- Harsh midday sun: Direct overhead sun creates deep shadows under eyes and chins. Move subjects to open shade or use a translucent diffuser held between the sun and subject to soften the light immediately.
- Mixed colour temperatures: Shooting near a window while indoor tungsten lights are on creates conflicting warm and cool tones. Switch off artificial lights entirely and rely solely on window light for a clean, consistent colour balance.
- Weather unpredictability: Overcast days are not failures. They are opportunities. Flat, diffused cloud cover acts as a giant softbox and produces consistently flattering portrait light without any modification.
- Rapidly changing light: Subtle changes in sun angle and intensity within minutes impact shadows and eye highlights significantly. Shoot in short, focused bursts rather than extended sessions, and reposition your subject as the light shifts rather than waiting for it to return to a previous quality.
- High contrast scenes: When bright sky and shaded subjects appear together, use a reflector to bounce light back into the shadows, or expose for the subject and recover the sky in post-processing using RAW files.
Reading the environment before you shoot is the most underrated skill in natural light photography. Walk the location, observe where the light pools and where it falls flat, and plan your compositions around the light rather than imposing compositions onto it.
Creative applications and genres where natural light excels
Natural light photography finds its most powerful expression across portrait, landscape, lifestyle, and documentary genres, each of which benefits from the authenticity and mood that only available light provides.
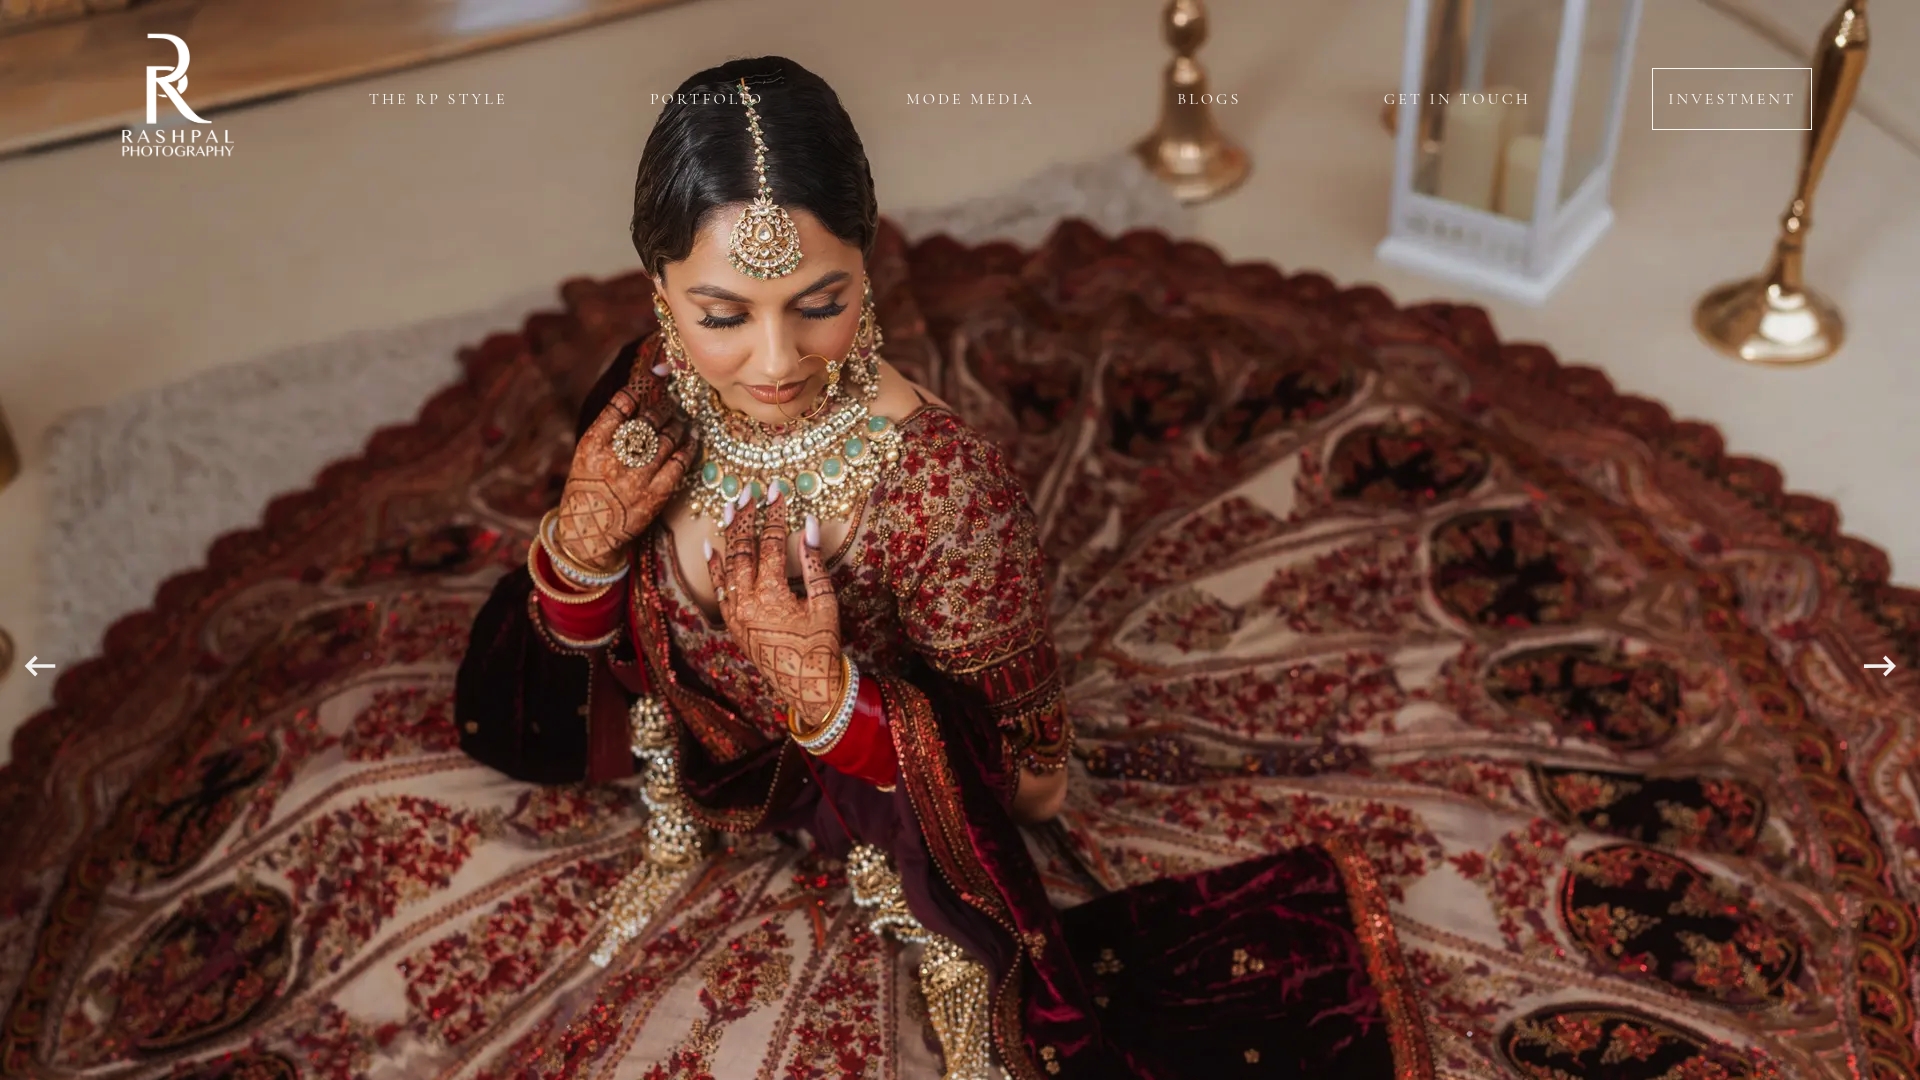
In portrait photography, window light produces some of the most timeless and romantic images possible. The soft gradation from highlight to shadow across a face, the delicate catchlights in the eyes, and the warmth of late afternoon sun through glass all contribute to a quality that feels intimate and genuine. At Rashpal-photography, this approach underpins much of the work captured at Asian weddings, where the interplay of rich textiles, architectural grandeur, and natural light creates images of extraordinary depth.
Backlighting and silhouettes offer dramatic creative possibilities. Positioning a subject between the camera and a low sun produces glowing rim light that separates the subject from the background with a luminous halo. Silhouettes, where the subject is exposed as a dark form against a bright sky, carry a graphic elegance that is immediately striking.
Shadow play is another underused technique. The dappled light filtering through leaves, the geometric shadows cast by window frames, and the long shadows of late afternoon all add visual texture and narrative to an image. These are the details that transform a technically correct photograph into something genuinely memorable.
The equipment demands of natural light photography are minimal. A camera with manual exposure controls, one or two prime lenses, and a collapsible reflector are sufficient for professional-quality results in almost any natural light condition. This mobility allows photographers to move freely, respond instinctively, and maintain a genuine connection with their subjects.
Key takeaways
Natural light photography produces its finest results when photographers understand and adapt to light direction, quality, and timing rather than waiting for perfect conditions.
| Point | Details |
|---|---|
| Definition is precise | Natural light photography uses only sunlight, moonlight, or window light, with no artificial sources. |
| Timing determines quality | Golden hour and open shade produce the most flattering, controllable natural light for portraits. |
| Reflectors modify without adding | White, silver, and gold reflectors alter shadow depth and warmth without introducing artificial light. |
| Expose for the subject | Set exposure for your subject's face and allow backgrounds to fall darker for a polished, intentional look. |
| Adaptability is the core skill | Reading and responding to changing light in real time produces stronger images than waiting for ideal conditions. |
Why learning to read light changed everything for me
The most significant shift in my own photography came not from a new lens or a camera upgrade, but from learning to observe light with genuine patience. Early in my career, I would arrive at a location and immediately begin shooting, reacting to what was in front of me rather than understanding what the light was doing. The images were technically fine but rarely extraordinary.
What changed was the habit of arriving early and simply watching. Noticing how the light moved across a wall, how a shadow softened as the sun dropped behind a building, how a bride's dupatta caught the last warmth of the afternoon. That observation became the foundation of every session I now lead at Rashpal-photography, particularly during the elaborate, multi-hour ceremonies of Asian weddings where light shifts dramatically from morning mandap to evening reception.
My advice to any aspiring photographer is this: spend one session doing nothing but watching the light. No shooting, no composing. Just observe how it changes, where it pools, and what it does to faces and fabric. That single exercise will teach you more than any technical tutorial. Recognising and responding to light qualities in real time, rather than waiting for perfect conditions, is the true expertise this craft demands.
— Rashpal
Bring natural light photography to your wedding day
At Rashpal-photography, natural light is not simply a technique. It is the foundation of every image we create, from the soft morning light of a bridal preparation to the golden warmth of an outdoor ceremony. Our sessions are designed to work with the light your day naturally provides, producing portraits that feel timeless, romantic, and entirely authentic to your story.
If you are planning your wedding and want to understand how we use natural light across a full day of coverage, explore our wedding photography services or take a closer look at our classic engagement package, which includes a dedicated natural light portrait session. For couples who want to experience the magic of golden hour photography before their wedding day, this is the perfect introduction to how we work.
FAQ
What is the best time of day for natural light photography?
Golden hour, approximately 30 to 60 minutes after sunrise or before sunset, produces the softest, warmest, and most flattering natural light for portraits and landscapes. Overcast conditions throughout the day also provide excellent diffused light for portrait work.
Do I need special equipment for natural light photography?
A camera with manual exposure controls and a collapsible reflector are sufficient for most natural light situations. Fast prime lenses with wide apertures, such as an 85mm f/1.8, help in lower light conditions without requiring flash.
How do I avoid harsh shadows in natural light portraits?
Move your subject to open shade, where they are shaded from direct sun but facing open sky. This creates a large, soft light source that eliminates harsh facial shadows without any artificial lighting.
What is the difference between hard and soft natural light?
Hard light comes from small or distant sources such as direct midday sun, producing sharp, high-contrast shadows. Soft light originates from large sources such as an overcast sky or a large window, spreading illumination gently with gradual shadow transitions.
How does window light work for indoor natural light photography?
Positioning a subject at roughly 45 degrees to a window creates soft, directional light that sculpts the face with gentle shadows. Moving the subject closer to the glass softens the light further, while greater distance increases shadow contrast for a more dramatic result.
Recommended
- All Pricing Rashpal Bhachu | Wedding Photographer Uxbridge, UK
- Top Tips For Camera Shy Couples Rashpal Photography | Wedding Photographer Uxbridge, UK
- Common Mistakes Made By Amateur Wedding Photographers Rashpal Photography | Wedding Photographer Uxbridge, UK
- Photograph your Groom Preparations before the wedding day Rashpal Photography | Wedding Photographer Uxbridge, UK