TL;DR:
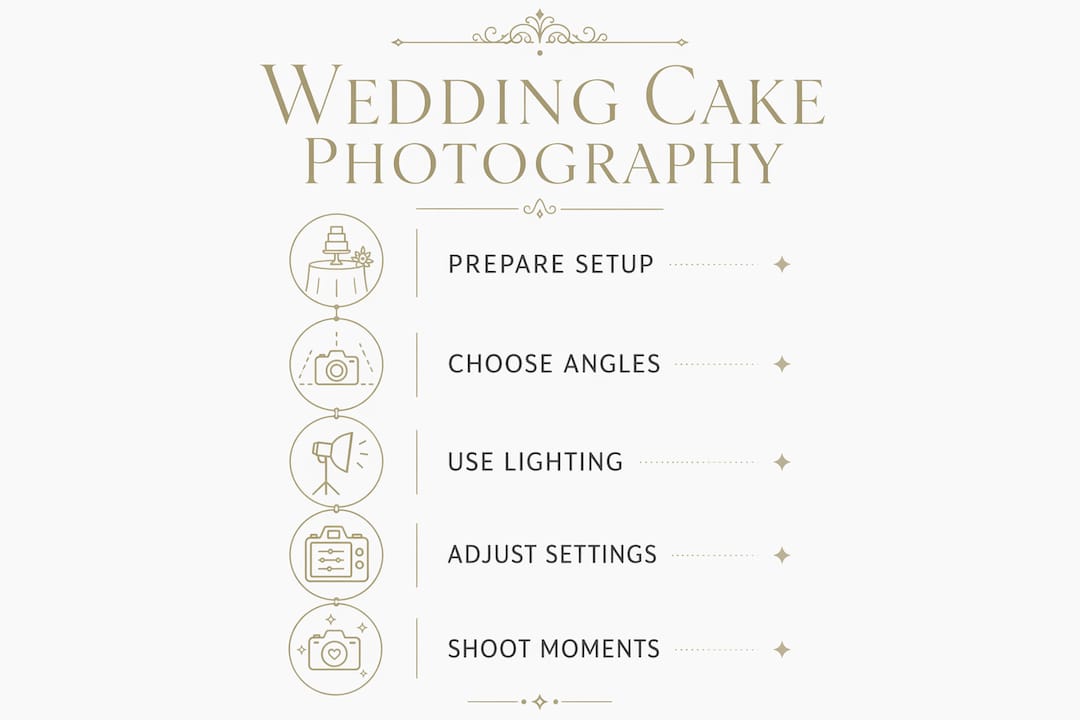
- Wedding cake photography requires deliberate angles, lighting, and timing to capture its artistry effectively. Using a 45–75 degree angle provides a comprehensive view, while natural window light enhances texture and depth. Quick preparation and strategic equipment choices help create compelling images within limited wedding day timeframes.
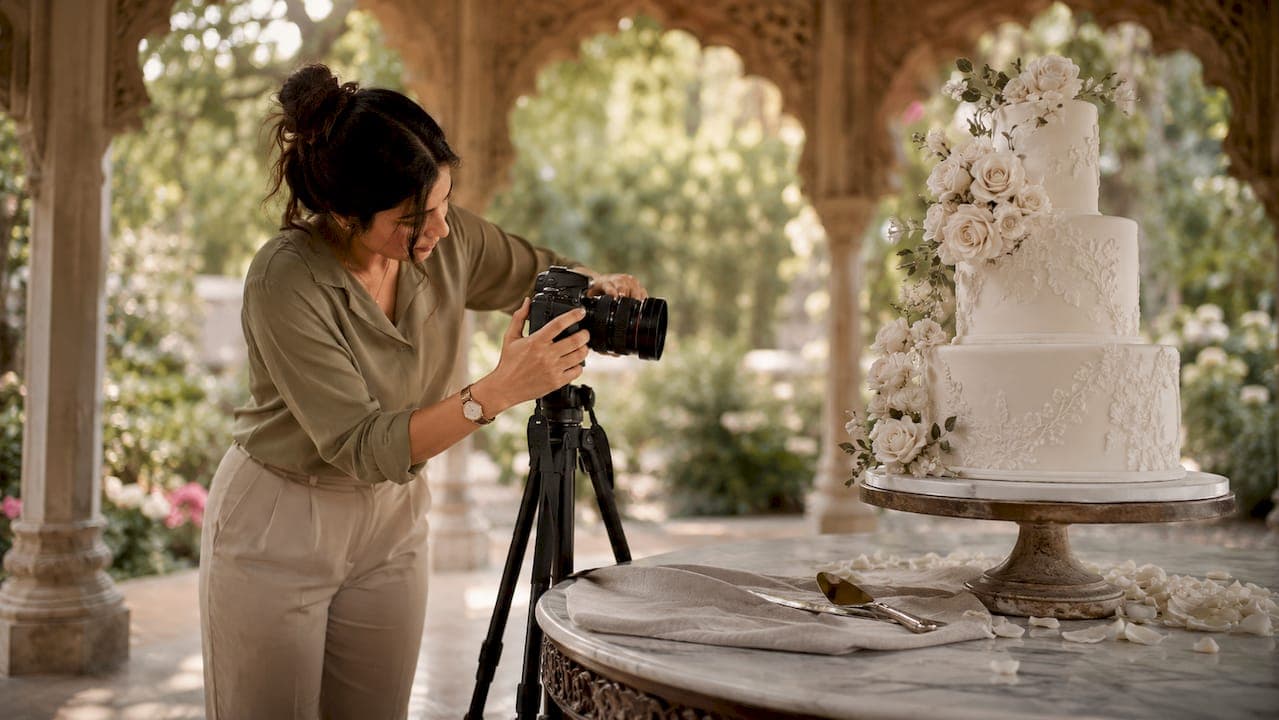
Wedding cake photography is the art of capturing a cake's design, texture, and emotional significance within the broader narrative of a wedding day. Knowing how to photograph wedding cakes well requires more than pointing your camera at a beautiful tier. It demands deliberate choices about angle, light, timing, and composition. The cake is one of the most crafted objects at any wedding, and it deserves images that honour that artistry. This guide covers every technique you need, from the first establishing shot to the final slice, so you leave with a gallery that tells the full story.
What are the best angles for photographing wedding cakes?
The 3/4 angle at 45–75 degrees off the cake's front is the industry's definitive hero shot for cake portfolios. It reveals the side profile, the height of each tier, and the top decorations simultaneously. No other single position delivers as much visual information in one frame.
Beyond the hero angle, you need a varied set of positions to build a complete story:
- Straight-on at eye level shows the cake's symmetry and the precision of the baker's work. Position your lens at the midpoint of the cake's total height for the most balanced result.
- Overhead or flat-lay works beautifully for single-tier cakes or detail shots of the topper and florals. Use a stepladder or shoot from a balcony if the venue allows.
- Macro close-ups at 10–30 cm reveal the texture of sugar flowers, hand-painted details, and piped lacework that the human eye barely registers from a standing position.
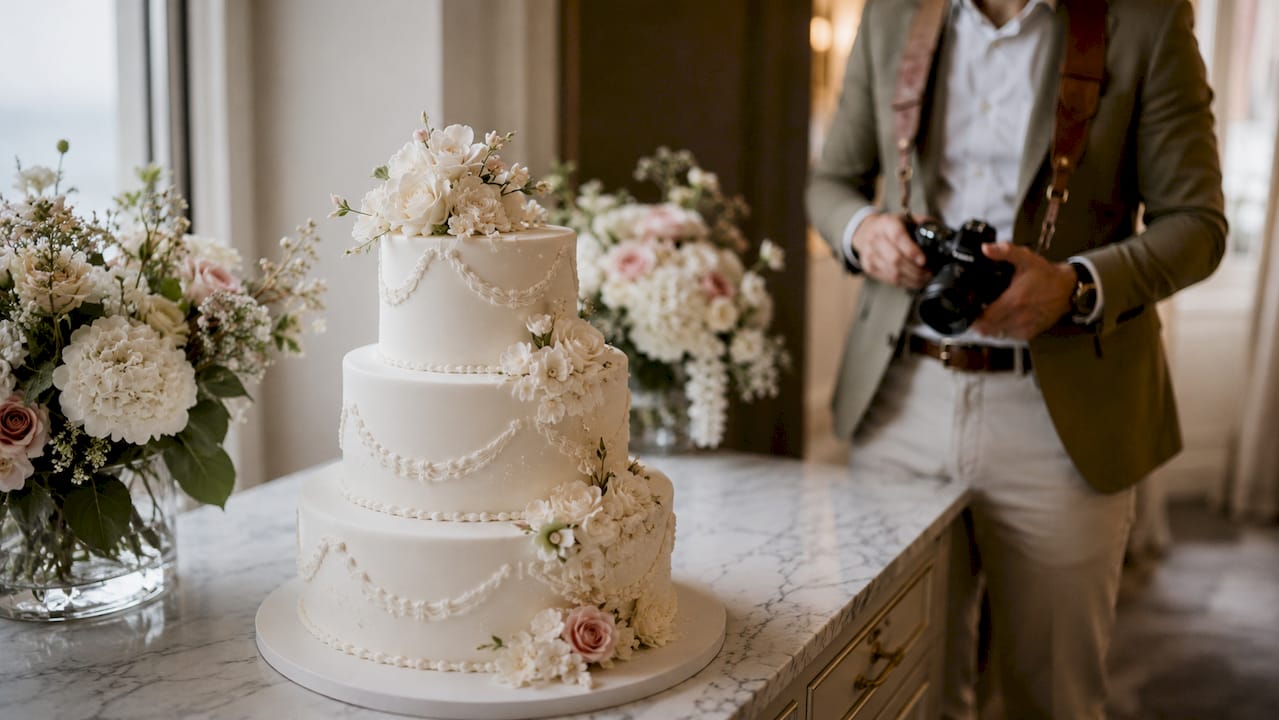
- Wide environmental shot places the cake within the reception room, showing the floral arrangements, candlelight, and décor that frame it.
Angle also changes how texture reads on camera. A low, slightly upward angle makes a tall cake appear regal and imposing. A high angle flattens the tiers and reduces perceived height, which is rarely flattering for a multi-tiered design. Wide, medium, and tight shots together tell a compelling story of the cake's role in the day. Think of them as your establishing shot, your portrait, and your detail work.
Pro Tip: Before the reception opens, spend two minutes walking around the cake and shooting a test frame from each position. Review on your LCD and commit to your hero angle before guests arrive.
How to use lighting effectively in wedding cake photography
Natural directional window light is the ideal light source for wedding cake photography. Position the cake so the window falls at 45–90 degrees to its side, creating a gentle gradient from highlight to shadow that reveals every tier's contour. This is the same principle used in studio product photography, and it costs nothing.
Direct on-camera flash is the single most damaging choice you can make. It fires straight at the cake, killing all shadow and producing a flat, washed-out image that erases texture. Use it only as an absolute last resort, and even then, diffuse it with a bounce card.
Here is a practical lighting sequence to follow at any venue:
- Scout the window light first. Identify the strongest directional source in the room before you touch your camera settings.
- Position the cake near a wall. Moving the cake toward a wall creates a shadow side through subtractive lighting, adding depth and drama to the image.
- Add off-camera flash with a softbox or umbrella if the ambient light is insufficient. Place it at 45 degrees to mirror the window light direction.
- Set your shutter speed to 1/15–1/30 sec to drag in ambient light and preserve the warm reception atmosphere alongside your flash.
- Check for specular highlights. These are the small, bright reflections on glossy fondant or buttercream. Side or back-side lighting creates them; front lighting destroys them. They are what makes a glossy cake look genuinely glossy rather than flat and chalky.
Pro Tip: If the venue uses warm tungsten lighting, set your white balance manually to around 3,200K rather than relying on Auto White Balance. This preserves the golden warmth of the reception without casting an orange tint across the white tiers.
What equipment and settings work best for cake photography?
Mixing focal lengths is the most effective way to build a varied and compelling set of cake images. Each lens serves a distinct purpose.
| Lens | Focal length | Best use |
|---|---|---|
| Standard prime | 50mm | Full cake portrait, environmental context |
| Short telephoto | 85mm | Flattering compression, mid-distance detail |
| Macro | 100mm | Sugar flowers, piping, hand-painted detail |
| Wide angle | 24–35mm | Venue context, cake table in full décor |
Camera settings require particular attention when photographing white cakes. A camera's light meter reads white as 18% grey, which causes it to underexpose the scene. Apply exposure compensation of +1.3 to +2 EV to correct this. Monitor your histogram and keep the highlights just below clipping to preserve the delicate tonal detail in white fondant.
For aperture, f/2.8 to f/4 gives a shallow depth of field that isolates the cake from a busy background. For detail shots, stop down to f/5.6 or f/8 to keep the full surface sharp. ISO should stay at 400–800 in good window light and rise to 1600–3200 only when the venue is genuinely dark. A tripod is worth carrying for the static cake shots; it allows you to drop your ISO and shutter speed without blur, producing cleaner files with more recoverable detail in post-production.
How to photograph the cake cutting ceremony to tell the full story
The cake cutting ceremony is a sequence, not a single moment. Professional standard practice is to capture it in six distinct stages: the couple's approach, hands placed on the knife, the first slice, the plating, the feeding, and the guests' reactions. Miss any stage and the narrative has a gap.
Position yourself at a 45-degree angle to the couple so both faces and the cake are visible in the same frame. Standing directly in front of them means one person will always obscure the other. Standing to the side loses the cake entirely.
Key settings for the cake cutting moment:
- Aperture f/2.8 to f/4 keeps both faces and the cake in acceptable focus while separating them from the background.
- Shutter speed 1/200 sec or faster freezes the knife movement and any sudden laughter or movement.
- Flash power at 1/16 to 1/32 preserves the ambient reception light rather than overpowering it. Lower flash power is the professional standard for this moment precisely because the warm, atmospheric light of a reception room is part of the story.
- Continuous shooting mode at 5–10 frames per second captures the micro-expressions that make these images memorable.
Cake photography demands efficient use of brief time slots, typically only 12–20 minutes across an entire wedding day. The ceremony itself lasts 1–2 minutes. There is no time to adjust settings mid-sequence. Set your exposure before the couple approaches the table, confirm your flash power, and be ready. Ask the couple to angle slightly towards each other rather than standing side by side; this small adjustment prevents one person from blocking the other and gives you a cleaner composition every time.
For supplementary guidance on sequencing key wedding moments, the candid wedding photo list from BGF Photography is a useful reference for building your shot list.
What common mistakes undermine wedding cake photography?
The most damaging mistake is a cluttered background. A beautiful cake photographed against a stack of chairs, a fire exit sign, or a busy floral arrangement loses its elegance immediately. Spend 60 seconds clearing the area behind the cake before you shoot.
Additional pitfalls to avoid:
- Relying on on-camera flash. It flattens texture, creates harsh shadows behind the cake, and produces unflattering reflections on fondant. Always diffuse or go off-camera.
- Arriving late to the cake setup. The cake looks its finest before the reception begins. Guests touching it, candles melting nearby, and flowers wilting all degrade the image. Photograph it during the drinks reception or cocktail hour.
- Ignoring props and context. A single stem from the floral arrangement, a cake knife, or the couple's place cards placed near the base add storytelling depth without cluttering the frame.
- Forgetting post-production. Lift the shadows slightly to reveal detail in darker tiers. Add a touch of clarity or texture in Lightroom or Capture One to make sugar flowers and piped details pop. Avoid over-sharpening, which creates an artificial, processed look.
Pro Tip: Shoot a tethered test frame or review your first three shots on your LCD before committing to the full sequence. Catching a white balance error or an exposure problem at the start saves you in post-production.
Key takeaways
Mastering wedding cake photography requires deliberate choices about angle, lighting, timing, and equipment, all applied within the tight time constraints of a live wedding day.
| Point | Details |
|---|---|
| Hero angle | Shoot at 45–75 degrees off the front to capture both the side profile and top decorations in one frame. |
| Lighting priority | Use directional window light or off-camera flash with a diffuser; avoid direct on-camera flash at all times. |
| Exposure compensation | Apply +1.3 to +2 EV when photographing white cakes to prevent underexposure caused by the camera's light meter. |
| Ceremony sequencing | Capture all six stages of the cake cutting, from approach to reactions, using shutter speeds of 1/200 sec or faster. |
| Time management | You have 12–20 minutes total for cake photography; scout your position and set your exposure before the moment begins. |
What I have learned about wedding cake photography after years in the field
The photographers who produce the most striking cake images are not necessarily the ones with the most expensive equipment. They are the ones who treat the cake as a character in the wedding story rather than a product to document.
I have shot weddings where the cake sat in a dark corner of the venue with no natural light and a cluttered background. In those moments, the technical solution matters less than the creative instinct to move the cake, find a wall, and build the light from scratch. That willingness to problem-solve quickly, without disrupting the day, is what separates a good wedding photographer from a great one.
The detail shots are where I find the most satisfaction. A macro image of hand-piped roses or a close-up of a gold-leaf tier reveals the baker's craft in a way that a wide shot never can. I always build time into my workflow for at least three or four tight detail frames, because those are often the images the couple treasures most when they revisit their gallery years later.
My honest advice: do not wait for perfect conditions. Practise your lighting setups at home with a plain white box before the wedding season begins. Understand how your camera meters white, how your flash behaves at low power, and how your 85mm lens renders at f/2.8. Arrive at the wedding with those decisions already made. The day moves fast, and the cake will not wait.
— Rashpal
How Rashpal-photography captures every detail of your wedding day
At Rashpal-photography, every wedding package is designed to give your most beautiful moments the time and attention they deserve, including the intricate details of your wedding cake. The Classic Investment package covers 14 hours of full-day coverage, giving your photographer the time to scout the cake's position, set up lighting, and capture the full ceremony sequence without rushing. For couples who want a more focused package, the Minimalist Investment covers eight hours of beautifully crafted coverage. Every package reflects Rashpal-photography's commitment to photojournalistic storytelling and guided portraiture, producing images that feel timeless from the very first frame.
FAQ
What is the best angle for photographing a wedding cake?
The 3/4 angle at 45–75 degrees off the cake's front is the industry's preferred hero shot. It captures the side profile and top decorations simultaneously in a single, visually rich frame.
How do I avoid overexposing or underexposing a white wedding cake?
Apply exposure compensation of +1.3 to +2 EV when shooting white cakes. Camera light meters read white as 18% grey and will underexpose the scene without this correction.
What flash power should I use during the cake cutting ceremony?
Set your off-camera flash to 1/16 to 1/32 power during the cake cutting. This preserves the warm ambient light of the reception room while providing enough fill to illuminate both faces clearly.
Which lenses are best for wedding cake photography?
A 50mm prime works well for full cake portraits, an 85mm or 100mm macro suits detail shots of piping and florals, and a 24–35mm wide angle captures the cake within its venue context.
How much time do I have to photograph the wedding cake?
Most wedding day schedules allow only 12–20 minutes total for cake photography. Scout your position and confirm your settings before the reception begins to make the most of that window.
Recommended
- Blogs Rashpal Photography | Wedding Photographer Uxbridge, UK
- How to Pose for Perfect Wedding Photos Rashpal Photography | Wedding Photographer Uxbridge, UK
- Top Tips For Camera Shy Couples Rashpal Photography | Wedding Photographer Uxbridge, UK
- How to Save Money on Your Wedding Rashpal Photography | Wedding Photographer Uxbridge, UK